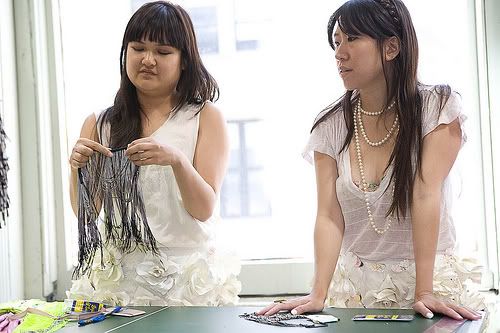
 Christina and I demonstrating how to make the fringe necklace. Photos by Urban Outfitters.
For those of you who've been asking about the instructions for Christina's DIY fringe necklace, I've posted the instructions that she wrote for the DIY booklet that Urban Outfitters made. You can download the rest of the booklet here.
Creating jewelry may seem like it requires a fine eye and a variety of tools, but this fringe necklace takes minimal supplies and no previous experience.
SUPPLIES
Fringe (we bought grey gradient fringe for $12/yard in the district)
Chain
Double-fold seam binding
Embroidery floss
Large-hole needle
Pins
HOW TO
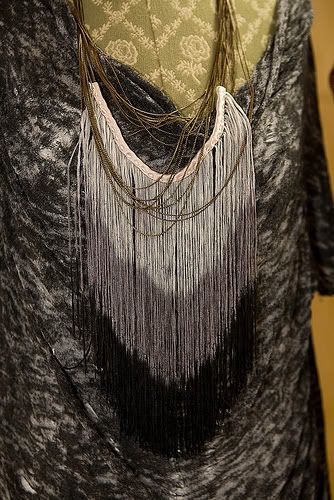
1. Decide upon a pattern for layering the fringe. The design may vary in length and width depending on the desired look, but should make a sizable breast plate.
2. Lay the seam binding flat and, placing the fringe upon it, fold the seam binding around the
fringe, sandwiching it.
3. Place the chain amongst the fringe, leaving enough to create the necklace circumference as
well as some detailing.
4. Pin the seam binding around the chain and fringe.
5. Hand-stitch the binding to the fringe, making sure that everything is held in place, including
the chain. If there is chain hanging off of the piece you are sewing the fringe to, you will have to do an invisible slip stitch along the seam making sure to weave the stitches around the hanging pieces of chain.
6. Use the embroidery floss for a little added detail.

 -Christina and Tiffany
No comments:
Post a Comment