Showing posts with label DIY. Show all posts

Wednesday, January 5, 2011

New Year, New DIY

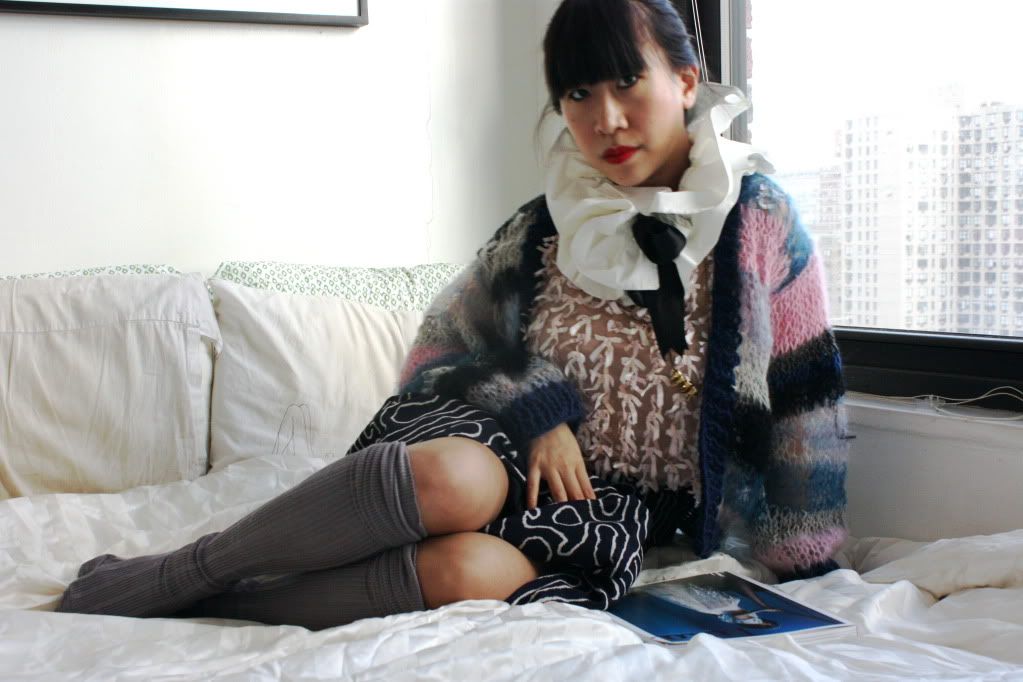
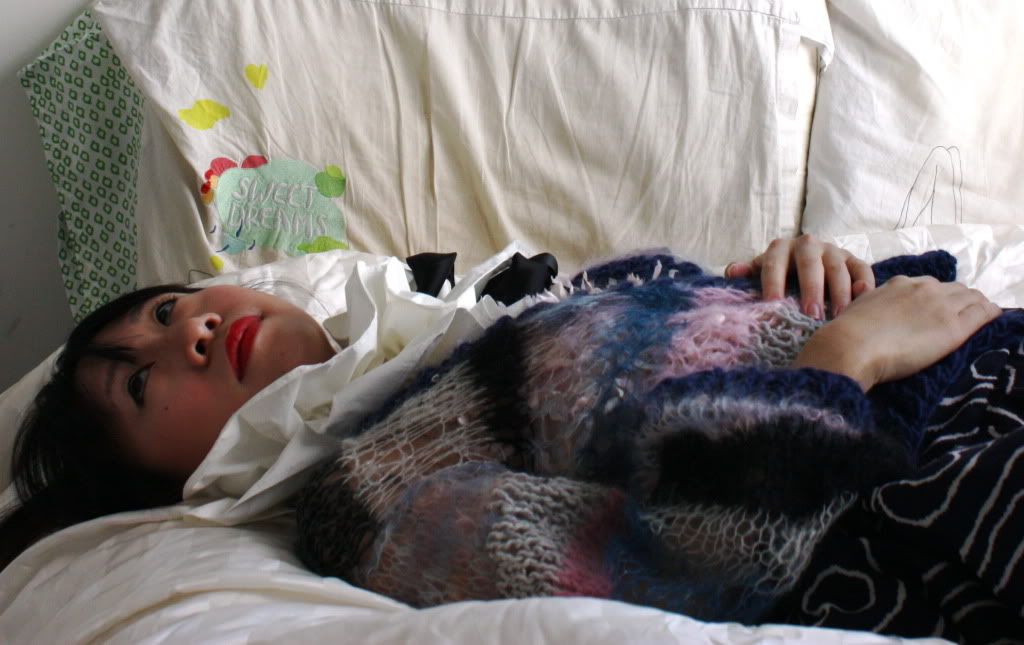
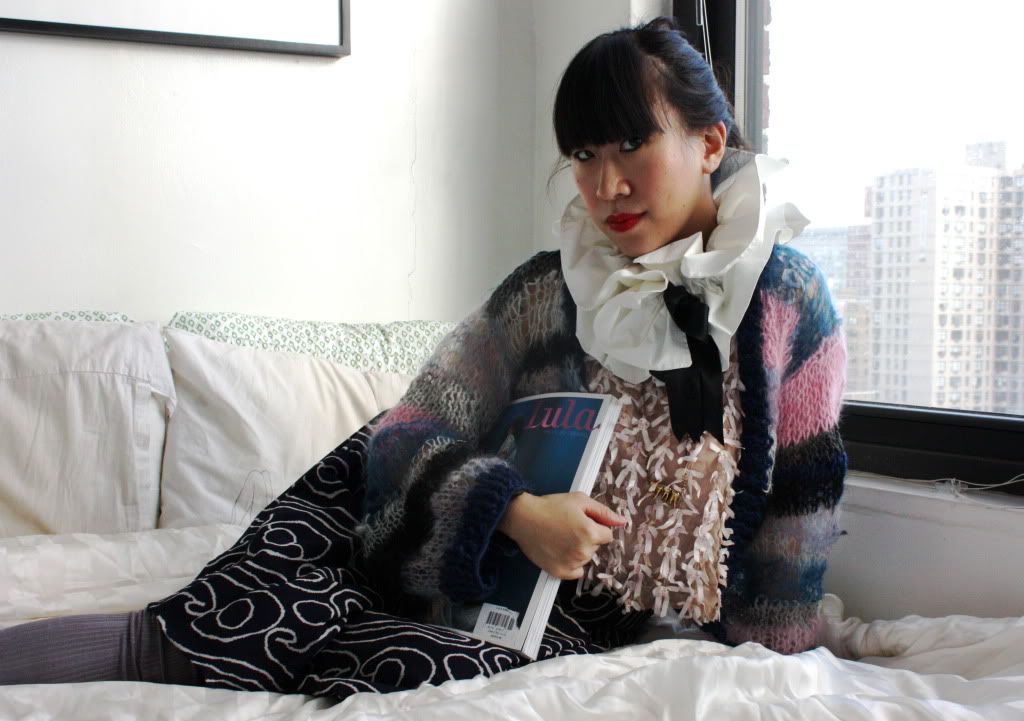
DIY Rodarte-inspired cardigan, Six Six Sick ribbon top and ruff collar, hand-me-down vintage skirt from my mom, Triskaidekaphobia Necklace, H&M socks

I'm not one to make New Year's resolutions, but I figure that maybe if I write one down here, there will be a greater chance that I actually make good on it. I only have one resolution, that encompasses all the areas of my life. In 2011, I hope to be more proactive about getting things done, whether it's meeting deadlines, returning emails, invoicing clients, or just cleaning my house. I also want to make sure I finish all the projects I get started on, whether it's jewelry, blog, or DIY related. I am a master procrastinator, and even though I have the best intentions, I only end up completing half of what I set out to do.

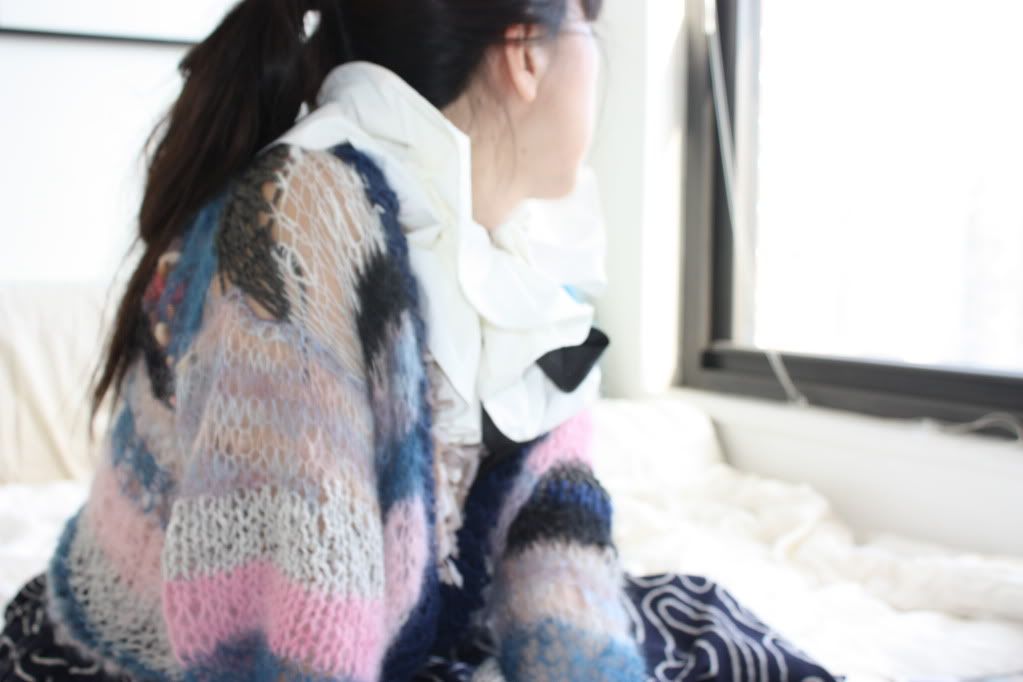
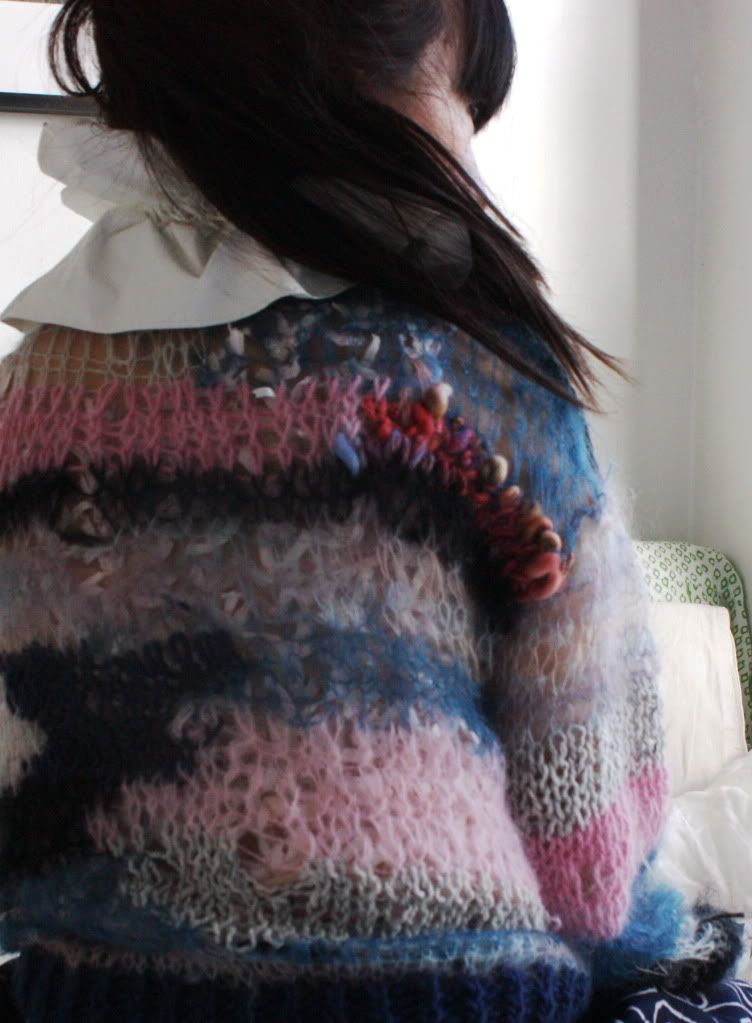
I've started by getting my first DIY of the year done as quickly as possible. Since I always need more sweaters, I knit myself this Rodarte-inspired cardigan during the Christmas/New Year holidays. It only took me about a week, and involved watching plenty of good movies (Exit Through The Gift Shop, I'm Still Here, Toy Story 3) and bad TV (not telling). Although it's loose-knit, it's surprisingly warm. I plan to do a lot more knitting in the next few months (more scarves and cowls are definitely needed), so hopefully I will keep up the momentum to get them all done before the end of winter!


-Tiffany

Sunday, November 28, 2010

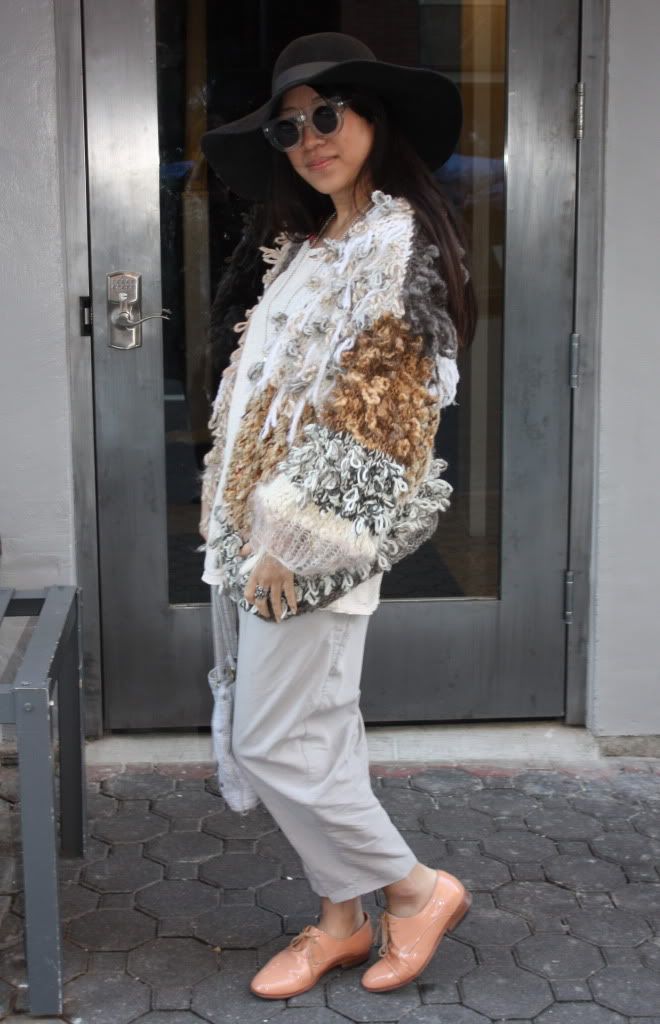
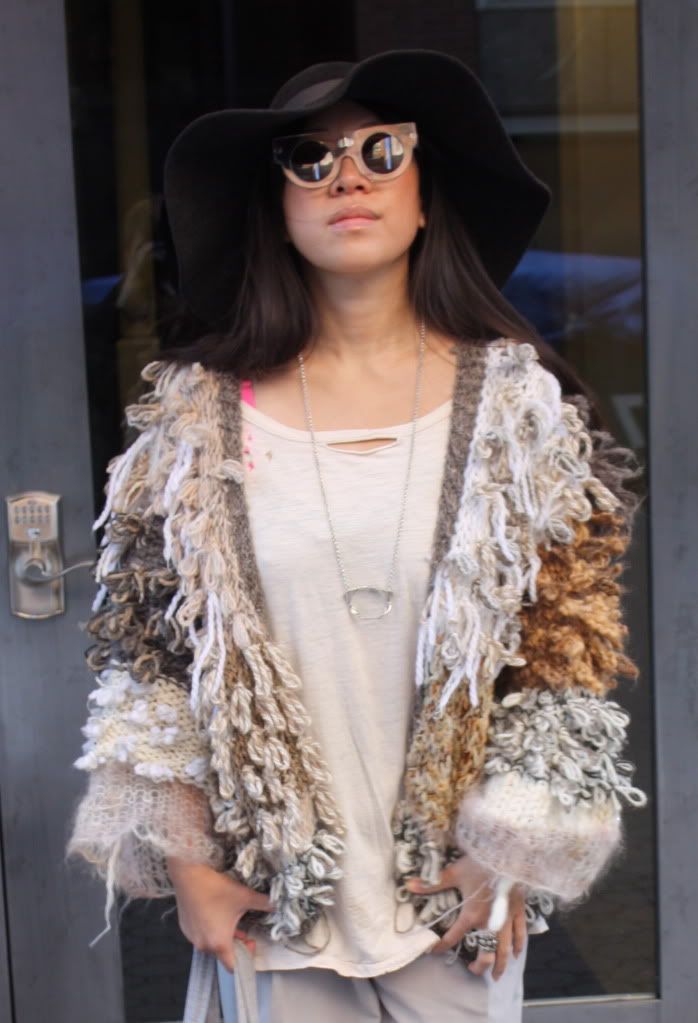
Monsters Inc: DIY Rodarte-Inspired Looped Cardigan

DIY Sweater, Elizabeth and James tee, VPL bra, Carin Wester pants, Dieppa Restrepo brogues, Devaki hat, Slow and Steady Wins the Race Sunglasses and purse, Triskaidekaphobia necklace and ring.

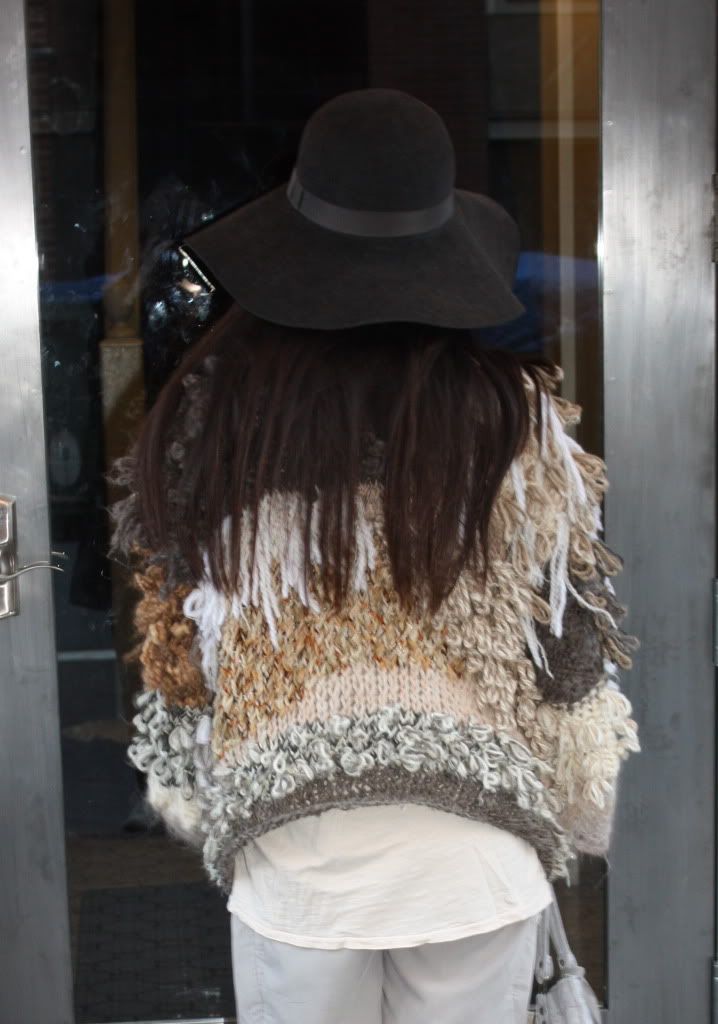
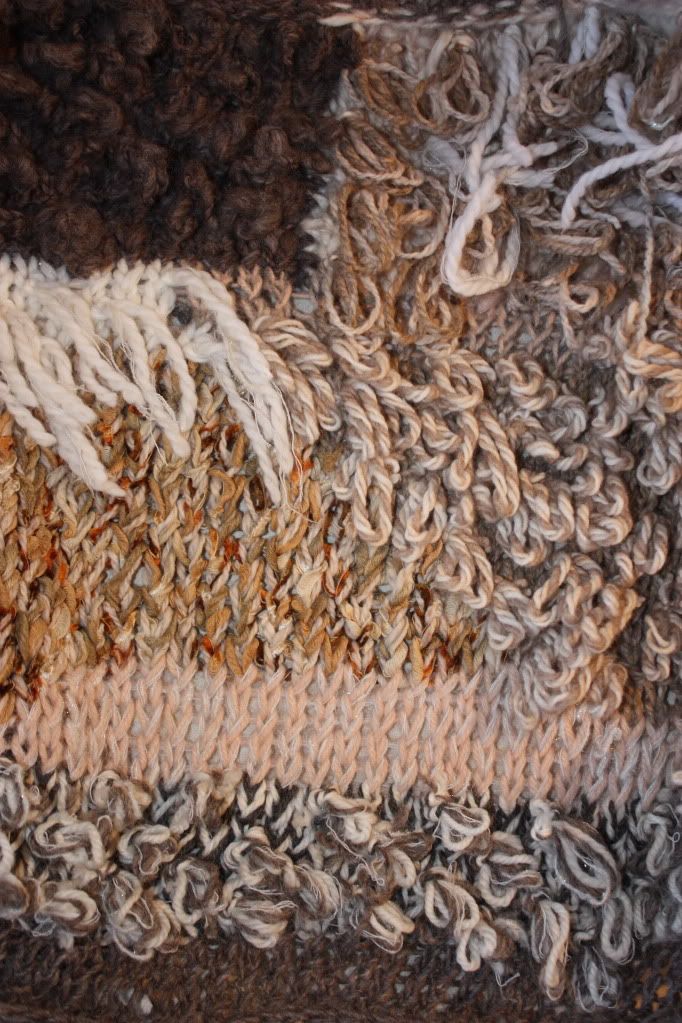
So, I know I haven't put up a DIY in ages, but I kinda got hung up on one monster project that took me a lot longer than I could ever have anticipated. If you've been reading this blog for a while, you know I have a thing for Rodarte, and have tried my hand DIYing their tights, dresses, and leggings. All of those projects went relatively quickly, taking no more than a few weeks max, so I thought I would take a chance and give the Rodarte hairy-looking looped cardigan a try. I went for a Where The Wild Things Are-inspired muddy color story, which felt appropriate for such a shaggy mess of a sweater. I knew it would be an ambitious undertaking, but I didn't expect to take me almost a year to finish.

Most of that year was a eight month long pause between last winter and this one, getting sick of the ridiculous project, and wondering why I was devoting so much time to something so fashion-jokey (I will be the first to admit that this sweater looks like a prop-piece from Zoolander). It took me less than a week to knit the body of the sweater, but the main bulk of the time was spent latch hooking the whole thing. Judging from the runway images, I made the mistake of thinking that the Rodarte sweaters were entirely latch hooked, and didn't realize until I saw them in person that their hairy texture is composed of a mix of loop-knitting and latch hooking. If I had figured this out before knitting the sweater body, I would probably have saved myself a lot of time. Latchooking seems easy, but when you're working with such bulky, chunky yarns, it actually is a huge pain in the ass.

Anyway, I'm not actually going to bother going through the DIY instructions for several reasons. First, I'm not going to delude myself into thinking that anyone else would want to make this, wear this, or look like this. I know that I'm probably the only person in Manhattan willing to be mistaken for an Asian-Amish vagabond (yes, I actually walked out dressed like this, and yes it did elicit a lot of funny looks). Second, even though I got every single scrap of material I used for free from my former job, it probably amounted to about $500 worth of yarn, which is a rather huge amount of money to drop on such a fashionably questionable project. Third, I never work with a pattern. If however, for some reason you would like to give it a try, or are working on something similar on your own, feel free to leave any questions in the comment section and I'll be happy to explain or clarify any of the steps I took.

Now that this nonsense is finished, I think I will get back to some lighter projects--maybe some more practical sweaters and scarves for winter that don't involve making yarn-dreadlocks. On the plus side, the monster sweater was a great way to get rid of scrap yarn, and I have to say--it's as crazy-warm as it is crazy-looking.


-Tiffany
Tuesday, November 2, 2010

Halloween Bits and Bobs

Christina wearing our DIY sequined Harlequin dress and ruff collar, Comme des Garcons x H&M blouse

Thank you to everyone who made it out to our Halloween Party at Anchor Bar on Sunday! We had such an amazing time that we needed all of yesterday to fully recover. I never feel safe bringing my big fancy camera out to parties, but I did get a few decent iPhone photos of the night. I finally downloaded the Hipstamatic iPhone app, which is, no exaggeration, LIFE CHANGING. After some futzing around, I fixed my virtual camera to a setting that makes my crappy camera phone pics look like old-fashioned Polaroid transfers, which I used to make back in high school. I think the fuzzed-out look goes perfectly with our Carnival theme...

Tony and James

Our creepy clown makeup

Waseem was dressed as the Ring Master

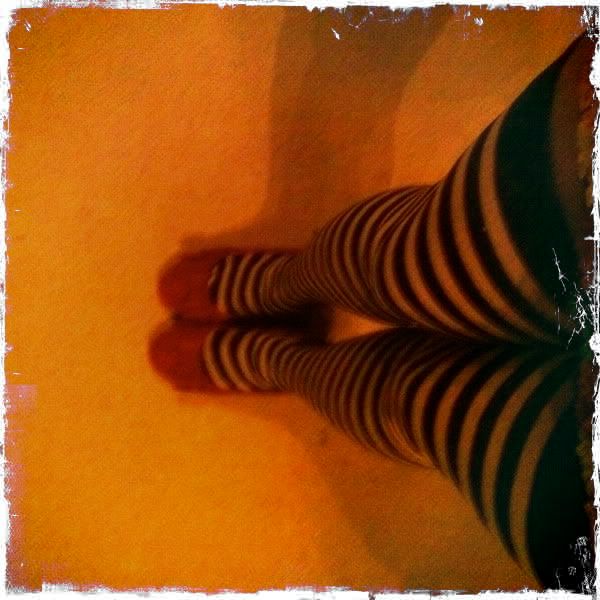
Striped thigh highs from Legs Avenue and pink Melissa shoes completed the look

The ghost of Diane Birch

Antler chandeliers at Anchor Bar
-Tiffany

Tuesday, June 22, 2010

Marble House: DIY Marbling

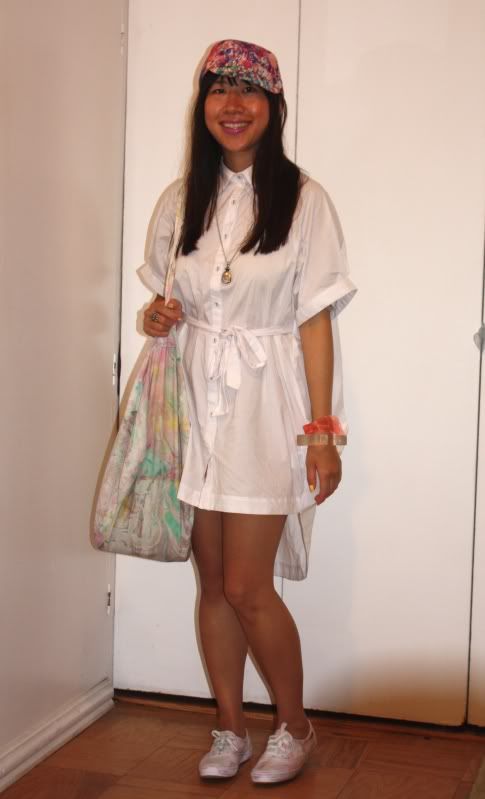
DIY marbled Keds and tote bag, Gestuz dress, Eugenia Kim biker cap, Cara Croninger resin bracelets, Triskaidekaphobia necklace and ring.

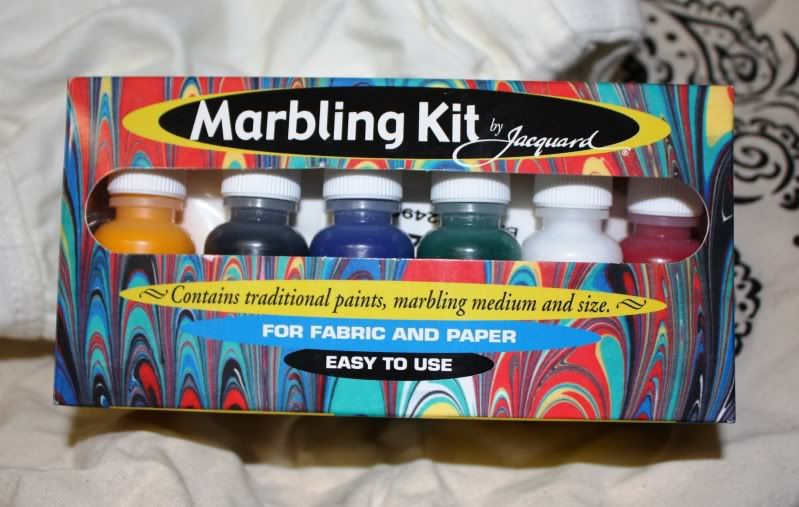
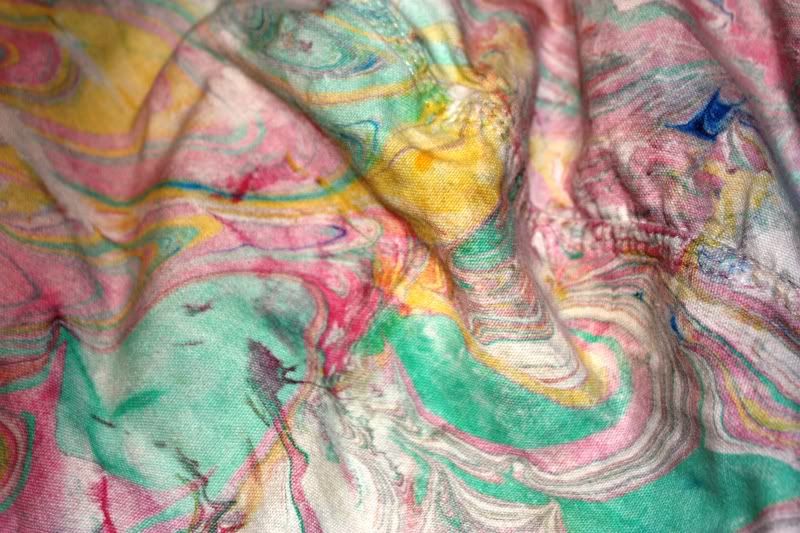
A few weeks ago, my friends over at Keds sent me a couple pairs of sneakers. I already had white ones, so when I got a second pair, I decided it was a perfect opportunity to do a DIY. At first I was only planning on dying them at home with some Rit, but once I got to the art supply store I was overwhelmed by the possibilities. After a good amount of deliberation, I ended up picking up the Jacquard Marbling Kit for Fabric and Paper, choosing it because it seemed to have the simplest and most straight-forward directions. Plus, Dick Blick, the art supply store I bought it from, has an extremely helpful instructional video that walks you through the entire process. I didn't want the shoes to be too bright, since I want to be able to wear them everyday and with anything, so I just dyed them very lightly for a watercolor effect. While I was marbling , I also decided to dye a giant white canvas bag that served as a goody bag from the DIY or DIE event we did at Urban Outfitters last year. I decided to go for more intense colors, and you can properly see the marbling effects.
Rather than posting a full set of instructions, I posted the Dick Blick video below. It's a bit time consuming with all the preparations, not to mention a pretty messy affair, but the actual marbling is very easy. It's a really fun way to customize all of the free totes and tees you have lying around, and I definitely suggest you give it a try since the whole kit and all of the extra supplies costs less than $20 total. Next up I'm going to do some notecards, and maybe even try that Marbled Nails DIY that's also floating around youtube...

The Jacquard Marbling Kit

My lightly marbled Keds


Close up shots of the marbling on the canvas bag


The Dick Blick instructional video for how to use the Jacquard Marbling Kit
-Tiffany

Sunday, November 29, 2009

So Chic

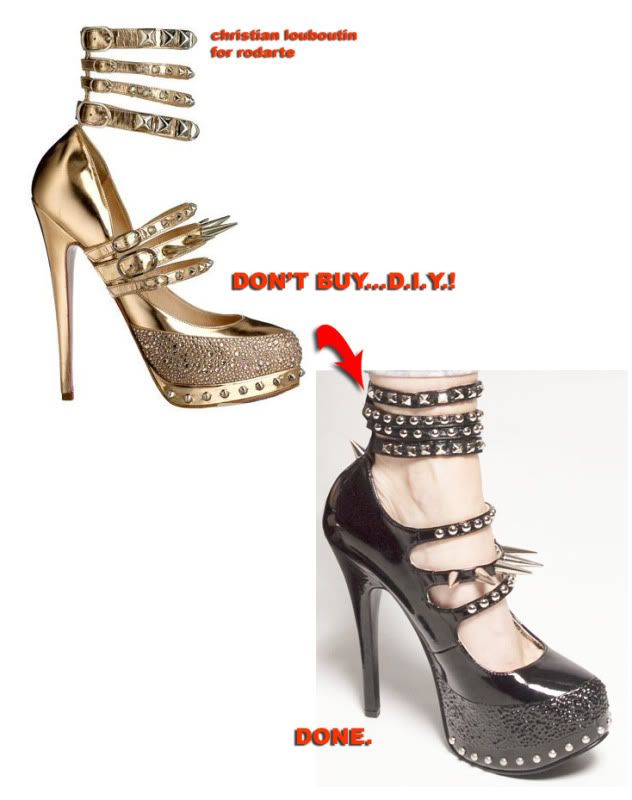
Real vs. DIY Nicholas Kirkwood for Rodarte heels

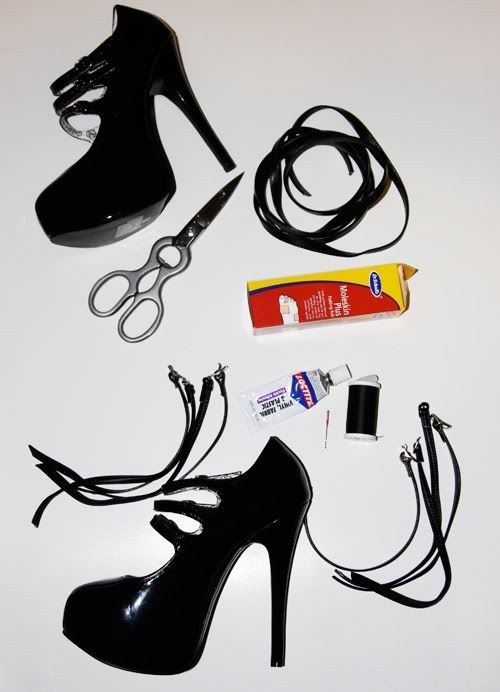
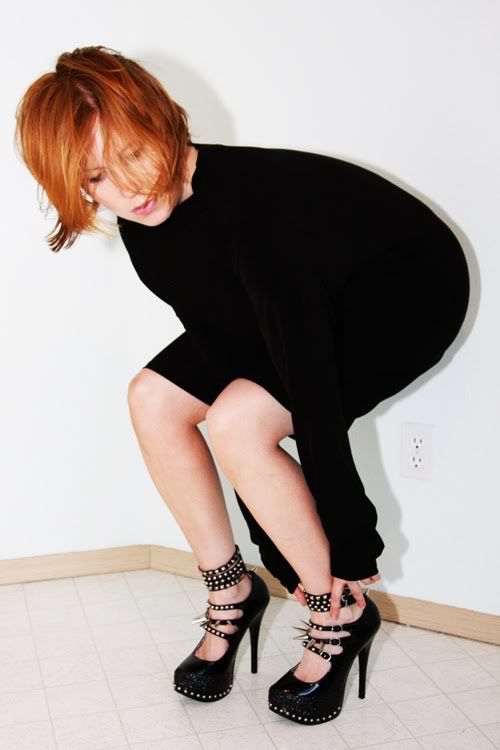
You might have already seen this, but it's so great that I thought it was worth sharing. As you know, I've done my share of Rodarte DIYs (working on one as I write, as a matter of fact), and I always appreciate seeing when other people give it a shot, and how their results turn out. Christina and I have had vague ambitions to DIY the Nicholas Kirkwood for Rodarte heels, but frankly it got lost in the long to-do list. Not to mention the fact that I feel slightly uncomfortable doing any shoe DIY's without a hefty amount of help from my favorite shoe-repair man, Boris. That's why I was incredibly impressed when Carly from Chic Steals told me to check out the pair of heels she DIY'd entirely on her own, even though it required plenty of time, careful work, and most importantly, creative thinking and problem solving. After all, the greatest challenge is figuring out how to replicate the design yourself, and I think Carly did a pretty incredibly job. You can follow her step by step instructions here, if you feel so inspired. In the meantime, I'm going to go back to my knitting...I'll keep you posted...

Some of the tools you'll need

Carly wearing the finished results
-Tiffany

Saturday, October 31, 2009

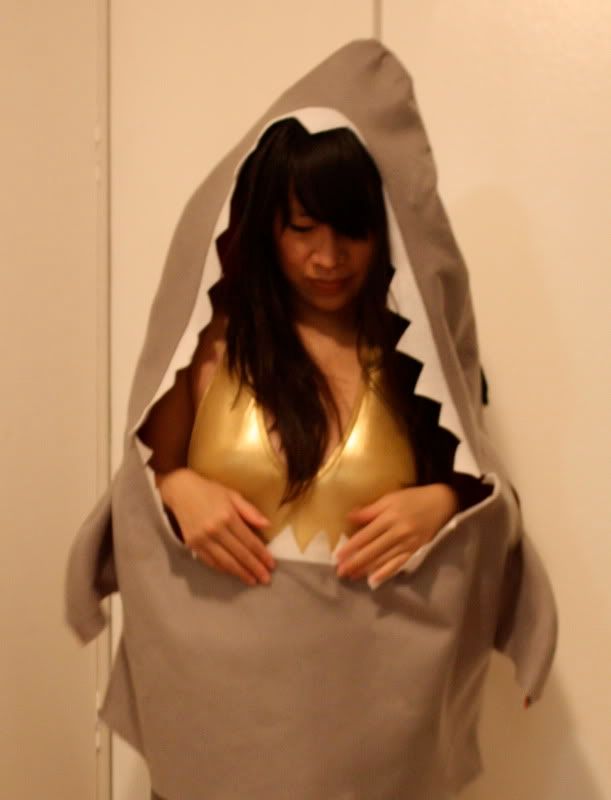
Lucky Little Shark: Happy DIY Halloween!

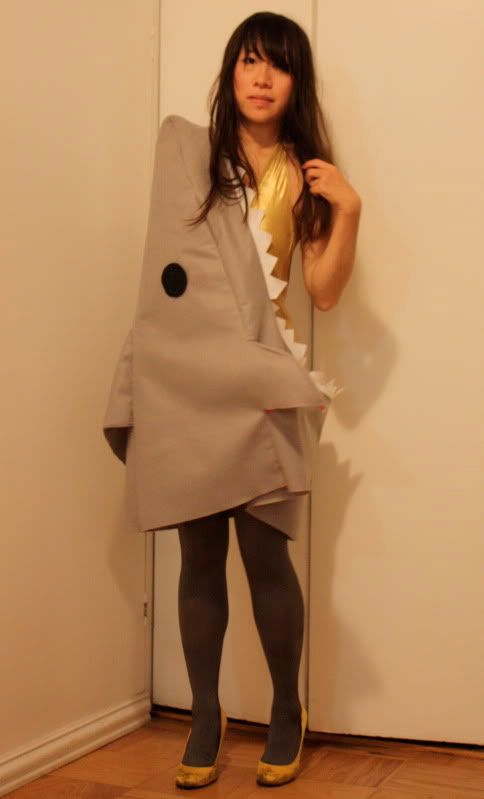
DIY felt shark, American Apparel gold swimsuit, CK tights, Forever 21 shoes

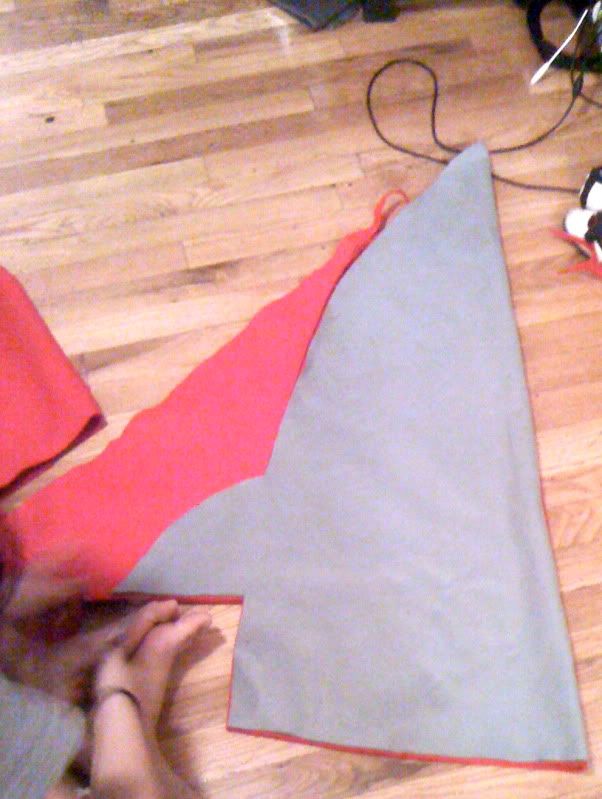
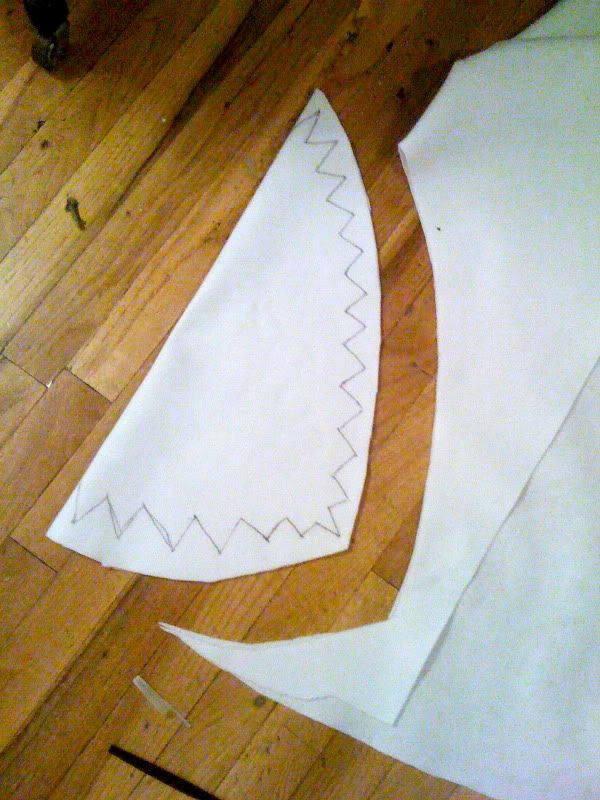
Christina and I have been planning on making these Shark Attack! costumes since last Halloween, but we ran out of time and ended up dressed as Republicans, with business suits and secretary blouses borrowed from Screaming Mimi's. This year though, we were determined to make it happen, and luckily we got it together in time to wear to our party at Butter last night. We weren't the only ones dressed as beasts: Greg K showed up wearing his Where the Wild Things Are x Opening Ceremony Max sweatshirt, and scary pigs and sexy bunnies were also present for a full on Animal Planet vibe. Although it was little hard to dance/do anything social whatsoever, it's one of my favorite Halloween costumes I've ever had, and didn't take much time to put together. There are plenty of DIY instructions online for this costumes, but here's a short summary of how we did it, using gray, red, white and black felt, and a tiny bit of copper wire.

Christina cut the bodies out of gray felt, and lined the inside of the body with red felt.

We cut a hole in the front of the costume for the mouth, and lined the edges with white felt teeth. We made a shark's fin out of the left over gray felt, and added it to the back, along with two black felt eyes.

As a finishing touch, we tacked a strip of cooper wire along the inside edge to keep the shape of the shark nose area in tact. We wore the outfits two ways: as a hood, and off to the side, for the full eaten-alive-effect.
-Tiffany

Sunday, October 25, 2009

Everything's Coming Up Roses

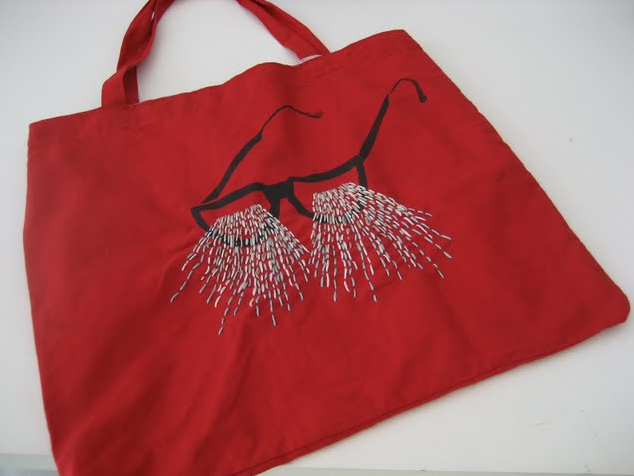
Hand embroidered 'Lunette' tote-bag

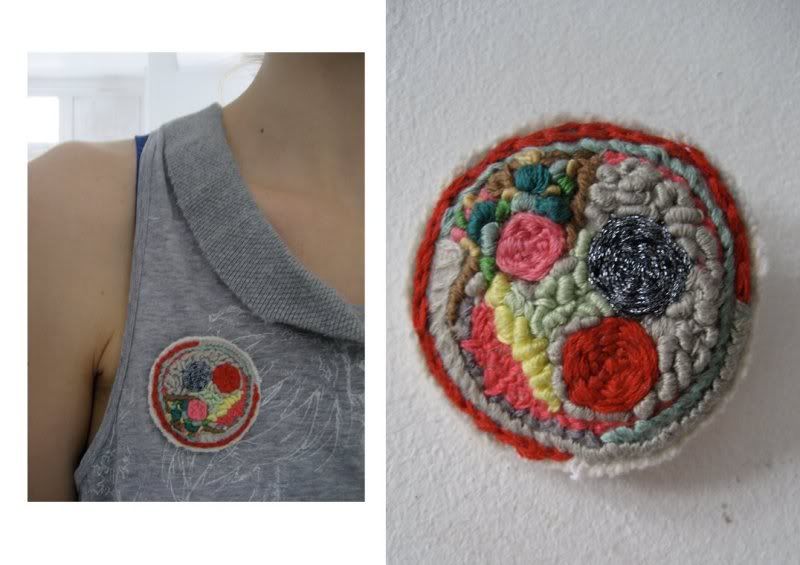
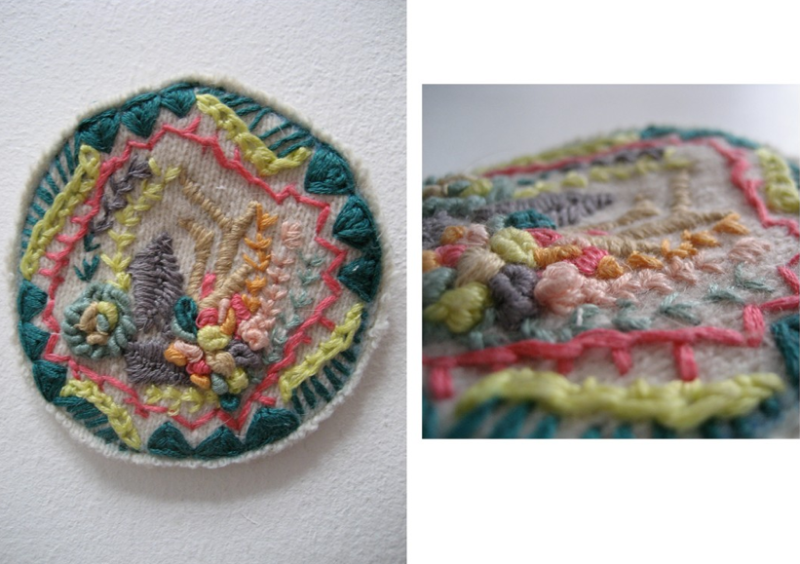
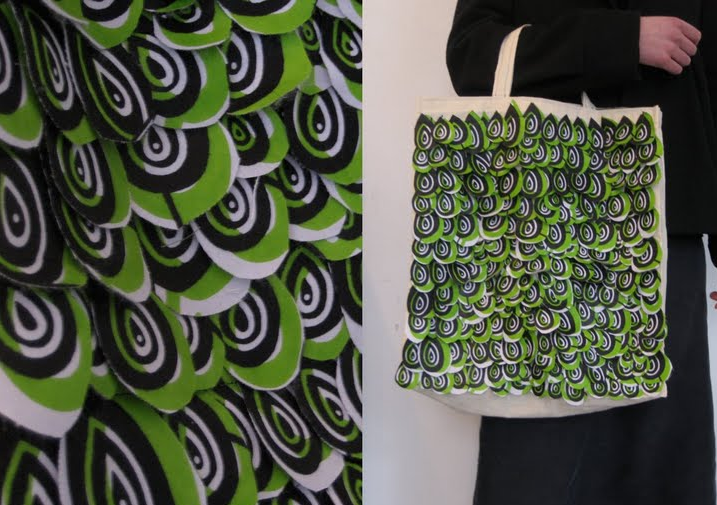
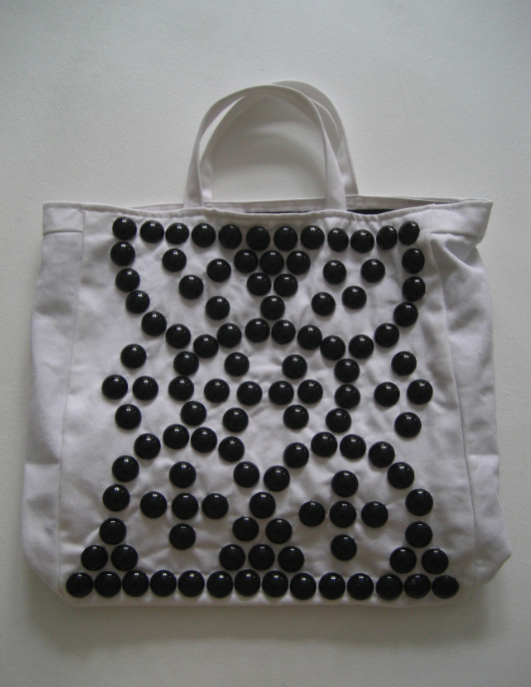
To me, there are two categories of craft. The kind that I can DIY, and which I refuse to spend money on, and then the kind which are made with true craftsmanship and skill, which I'm more reluctant to attempt to make at home, and more willing to part with my dollars for. Hand embroidery of any kind definitely falls into the second category for me, as I will never acquire a taste for hand-sewing. I hold the highest amount of respect for people who have more patience than I do, and therefore am slightly smitten by Rose Patate, a line of handmade jewelry, accessory and household goods designed by Rachel Peloquin. Many of her designs feature hand embroidery, quilting, and silk screening, and I'm particularly fond of her quirky little broaches that look like they've been made with the utmost love and care.


Hand embroidered broaches

Plume cotton tote bag featuring tromp-l'oeil feathers

Studded tote bag
-Tiffany

Wednesday, August 5, 2009

Danger! Danger!

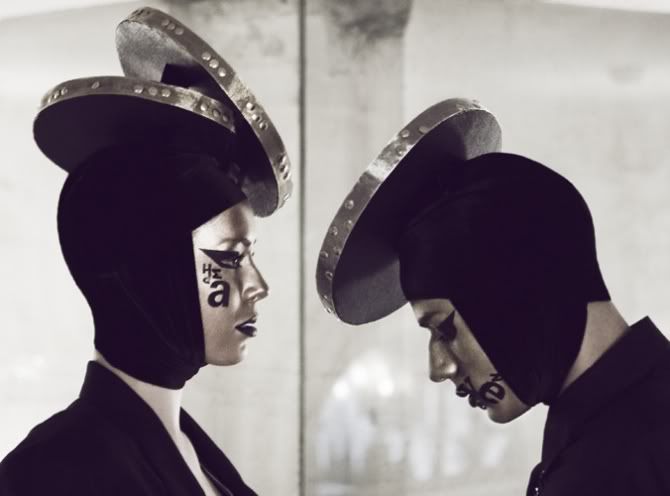
A sampling of House of Dangerkat's sick headgare and insane makeup

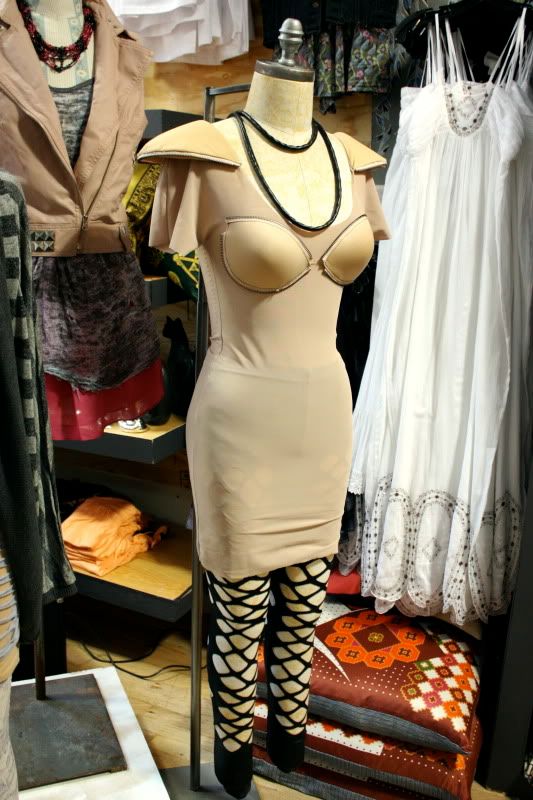
I'm sorry for being such a truant on letting you all know what's going on at our parties until, um, after the fact. The boys over at GBH (who organize our Saturday nights) always have a mind-bending lineup in store, and this past Saturday I didn't really know what The House of Dangerkat was until they were essentially crawling between our legs towards the dancefloor. Dangerkat is essentially a rotating group of dancers lead by Kaiti "Dangerkat" Pasqualotto, who perform Willi Ninja style Vogueing set to high-intensity club music. Of course, my favorite aspect of their performance is the insane costumes that they make for themselves, which often look inspired by Jeremy Scott and Andrea Crews, and involve oversized conical bras, gigantic shoulder pads, plenty of drop-crotch pants, and out-of-this-world headgear. As Christina said as we watched them, "that's DIY done right."

The House of Dangerkat positions themselves as a melding of dance, art, fashion, and music into performance, and have performed for clients as diverse as Colette and Barbie, while hitting up all the best parties in New York. Still, Vogueing is based on individual personas, and part of their goal is to take behaviors and dress codes inappropriate for everyday life and translating that into a performance, in which each dancer becomes a supreme version of themselves. Definitely an inspiration for all, and you can expect to see us DIY our own Dangerkat-inspired costumes in the future.

Dangerkat at a recent performance the infamous Mr. Black party in New York

More fierce posing by Kaiti

The House of Dangerkat in costumes they wore while performing in Paris. They sell their drop crotch pants on their webshop!


House of Dangerkat Demo video
-Tiffany

Friday, July 17, 2009

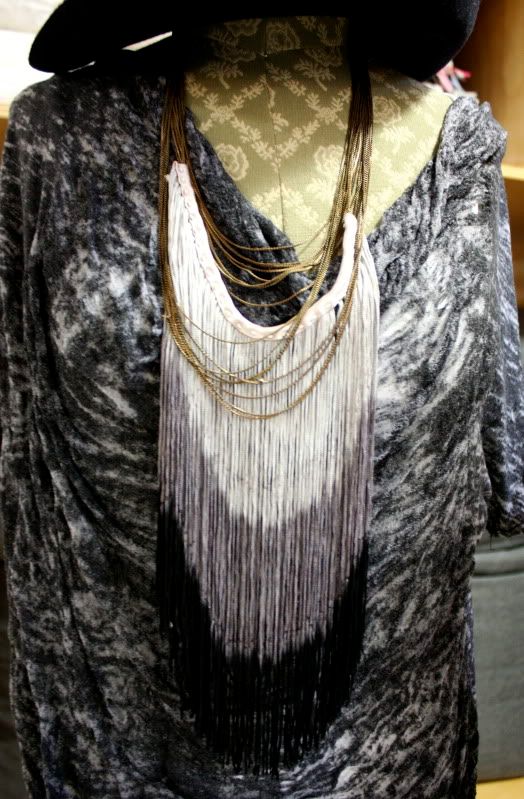
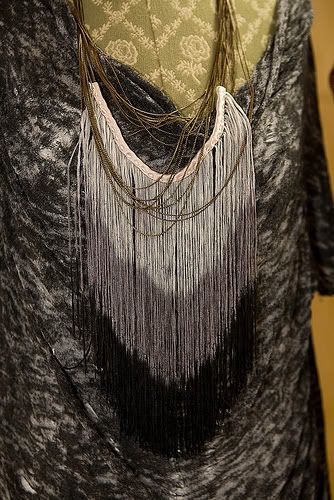
DIY Fringe Necklace

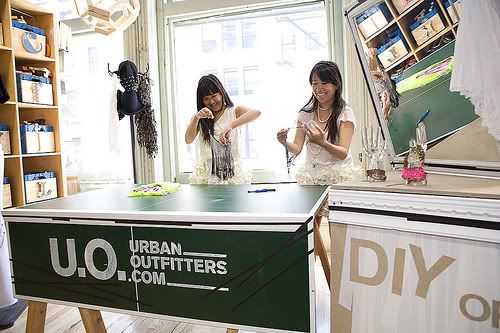
Christina and I demonstrating how to make the fringe necklace. Photos by Urban Outfitters.

For those of you who've been asking about the instructions for Christina's DIY fringe necklace, I've posted the instructions that she wrote for the DIY booklet that Urban Outfitters made. You can download the rest of the booklet here.

Creating jewelry may seem like it requires a fine eye and a variety of tools, but this fringe necklace takes minimal supplies and no previous experience.

SUPPLIES
Fringe (we bought grey gradient fringe for $12/yard in the district)
Chain
Double-fold seam binding
Embroidery floss
Large-hole needle
Pins

HOW TO
1. Decide upon a pattern for layering the fringe. The design may vary in length and width depending on the desired look, but should make a sizable breast plate.
2. Lay the seam binding flat and, placing the fringe upon it, fold the seam binding around the
fringe, sandwiching it.
3. Place the chain amongst the fringe, leaving enough to create the necklace circumference as
well as some detailing.
4. Pin the seam binding around the chain and fringe.
5. Hand-stitch the binding to the fringe, making sure that everything is held in place, including
the chain. If there is chain hanging off of the piece you are sewing the fringe to, you will have to do an invisible slip stitch along the seam making sure to weave the stitches around the hanging pieces of chain.
6. Use the embroidery floss for a little added detail.


-Christina and Tiffany

Thursday, July 16, 2009

Urban Spoils

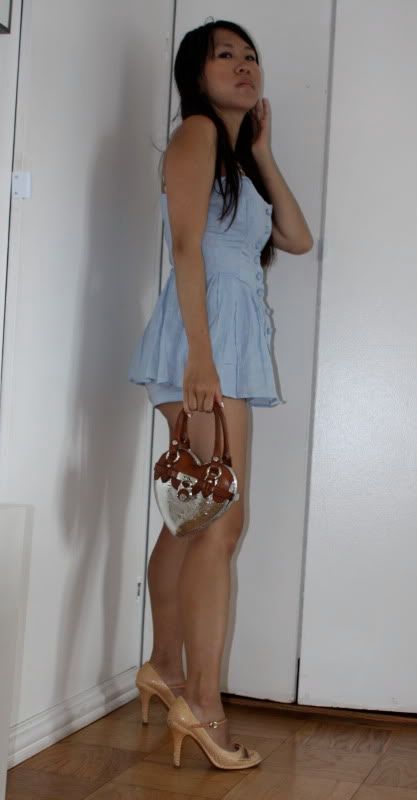
Rapscallion by Samantha Pleet romper, Marc Jacobs heels, Moschino heart shaped bag

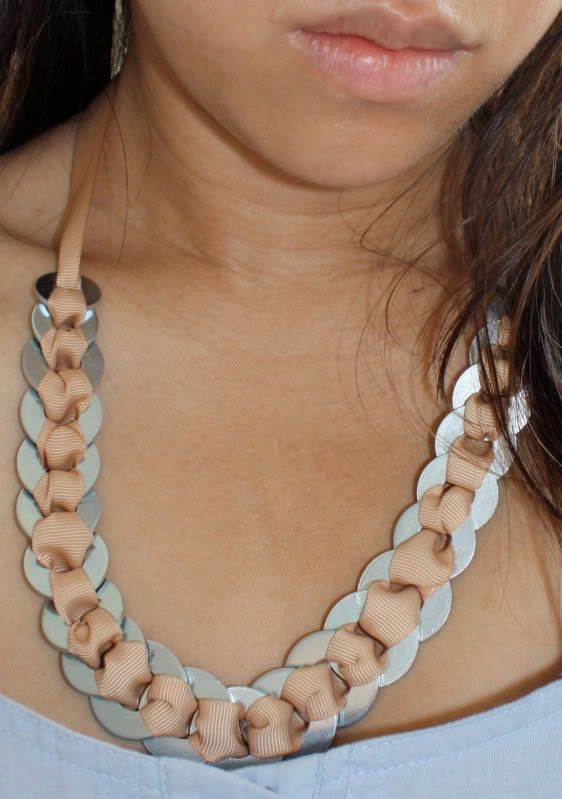
After the DIY or DIE event at Urban Outfitters, Andie and Kate were kind enough to put together a special goody bag for those of us who helped organize the afternoon. In addition to an U.O. gift certificate, which I used to buy this Rapscallion by Samantha Pleet romper and new DJ headphones, we got some nailpolish, a jersey dress, and this awesome DIY necklace kit based on a design by Anni Albers. Anni Albers was one of the original members of the Bauhaus, and designed these grosgrain and washer necklaces during WWII, demonstrating that you can craft something beautiful out of something inexpensive and commonplace. I love the necklace, which seems to marry Margiela's use of common objects, and Lanvin's elegant use of grosgrain, yet predates both of these houses' jewelry designs by half a century. The resulting effect looks almost like a string of giant metal sequins, and I've been wearing it so often now that I'm ready to DIY myself a second longer version in black.

DIY Anni Albers washer and grosgrain ribbon necklace

The grey, cobalt blue and black nailpolishes that I ended up taking home with me!
-Tiffany

Monday, July 13, 2009

DIY or DIE

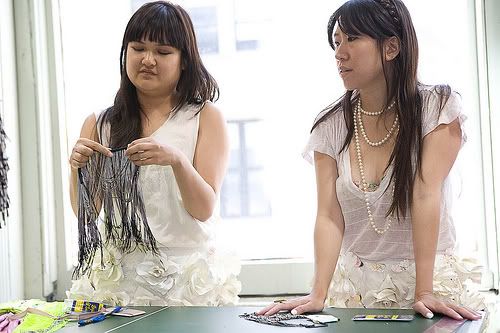
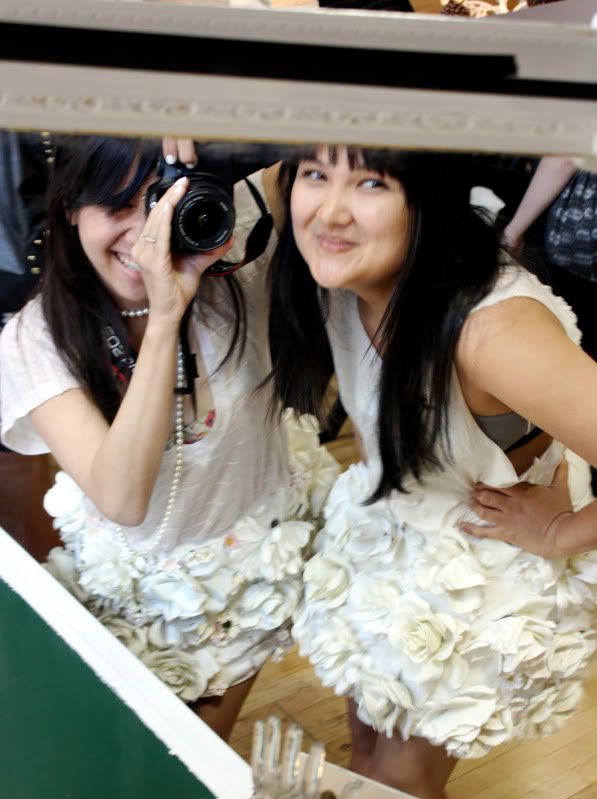
For the event, we wore our DIY porcelain flower skirts that we made for the Chictopia party we threw last Fashion Week. I wore my skirt with a VPL tee and Damaris bra, Christina wore hers with a DIY shredded tank and a VPL bra.

Thank you to everybody who made it out yesterday to hang out with Jeralyn, Sarah A., Pammy, Nikki, Christina and myself---we're so grateful that Andie and Kate at Urban Outfitters let us do this event! It was a great chance to hang out with some of our favorite fellow bloggers, and it was also an opportunity for everyone participating to show how accessible and easy DIY can be. I know that many people have previously complained to us that our DIYs are difficult to follow, or may require knowledge of sewing/knitting/etc that not everybody has. While our DIYs range from super-crafty to semi-professional, I think that there a lot of things that you can do to personalize your wardrobe without any formal training or experience. I chose to demonstrate the most easy DIY possible, cutting and slashing, on several jersey dresses and tops that Urban provided. Christina in turn demonstrated how easy it is to make a nice statement necklace out of a simple chain necklace and some long gradient fringe. I wish I captured more pictures from the event and everyone who attended, but we were so busy running around I didn't manage to get many. Look out for more pictures on everyone else's blogs, but in the meantime, here are some close ups of all of our projects!

EDIT: See more pictures of the entire event here on Badlooking!

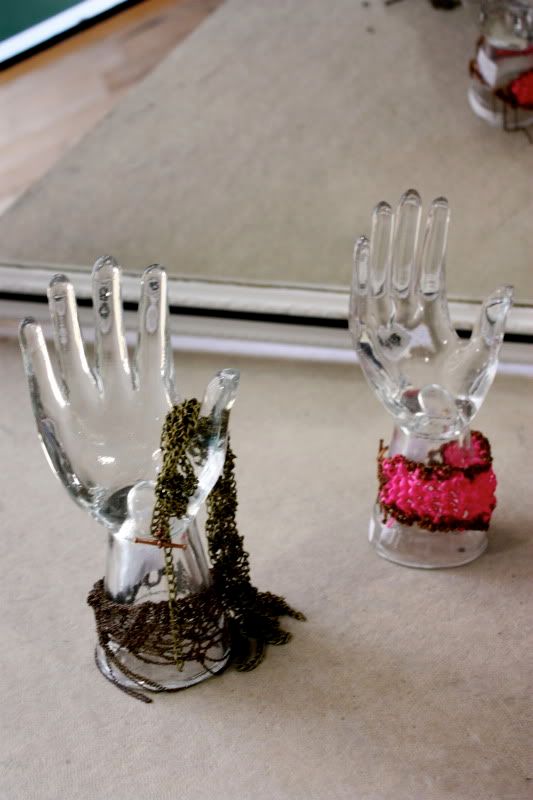
Pammy's incredible crochet chain bracelets. The hot pink lanyard bracelet was made for Screaming Mimi's Montauk store!

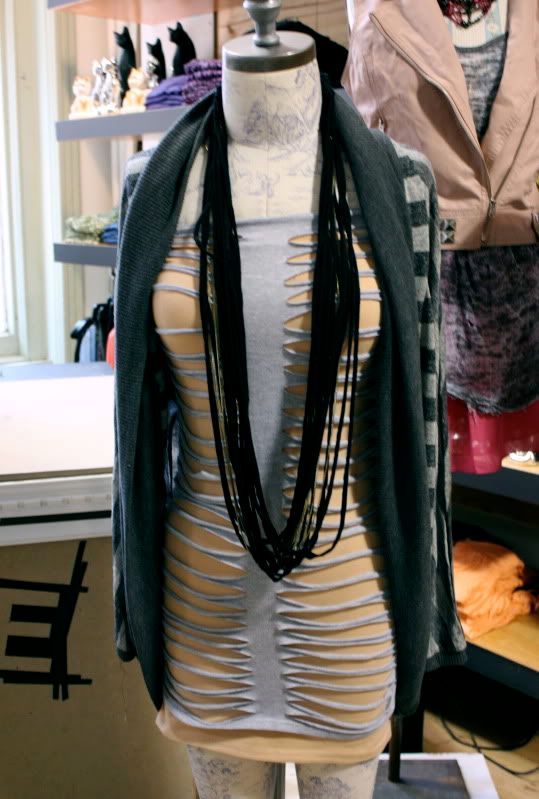
A slash dress that I made from an U.O. tube dress, paired with a U.O. cardigan and necklace.

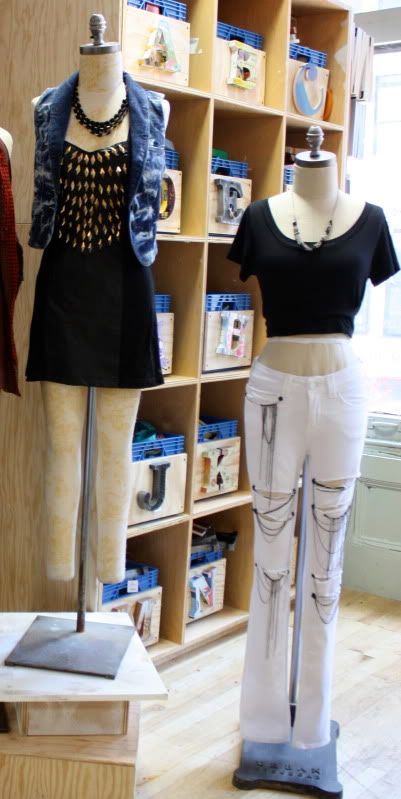
Jeralyn did the incredible studding on this black pleather U.O dress, while Nikki distressed and added chain to these white U.O. jeans.

This is one of the gradiant fringe necklaces Christina made from an existing U.O. chain swag necklace, worn ove one of Sarah A.'s shredded tees.

I put the DIY Rodarte leggings I made up as a more advanced example of cutting, and what you can do with nothing more than a pair of scissors. It's paired it with the DIY zipper trim dress that we just made, and an U.O. pleather necklace.

The night before, I wore the DIY Rodarte leggings with a Margarita Saplala dress, YSL belt and shoes, DIY tiger mask hat, Gerard Yosca bracelet, and a necklace and ring of my own design.
-Tiffany